Assalamualaikum and Hi people!
heyyaa people !!
alright , at the previous post, I have tell you about the material needed for making the Destar, the equipment y pthat you need to prepare before you starting the process of making the Destar ..
so, here I will show you step by step how the Destar made :)
enjoy people !
1.....2......3.....GOOOOOOOOOOOOOOO !!!!!

Firstly, you need to lay down your oil paper and the fabric that you have selected to be flip to make the Destar ..
Flip the oil paper into 2 ..
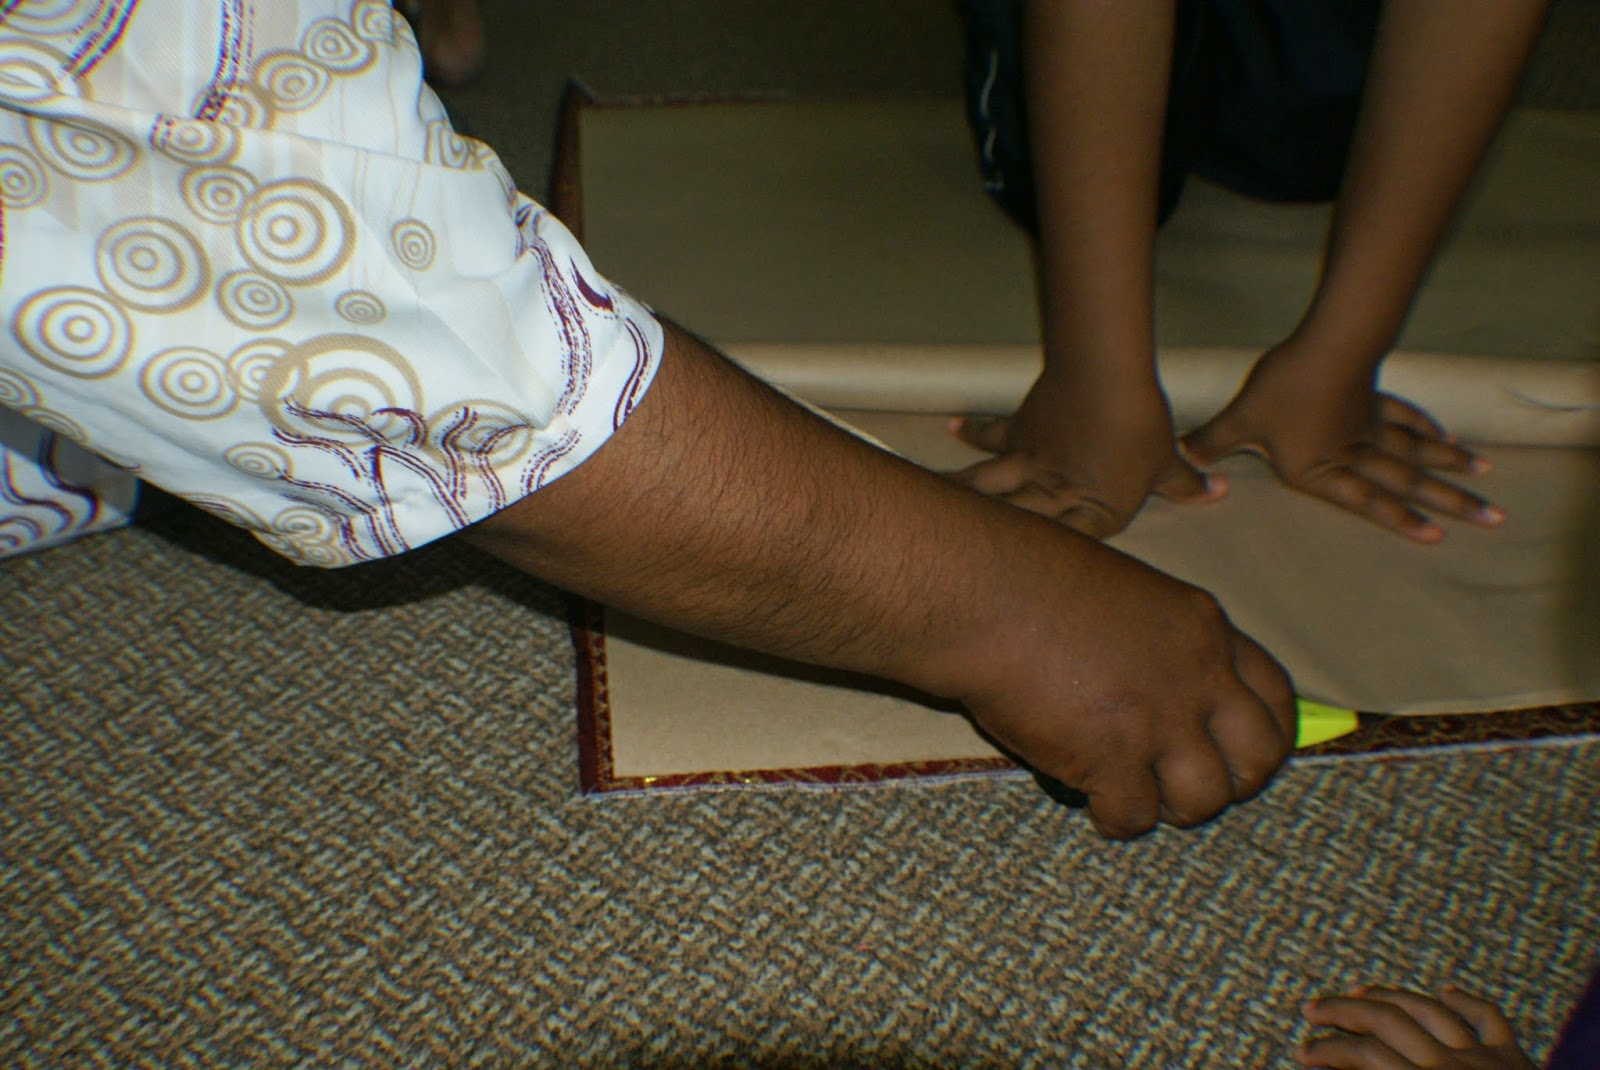
After that take a cutter and cut the middle of the flip line of oil paper.

Also cut the seam allowances of the oil paper to make it look fit to the fabric.

Then, attach the oil paper and the fabric by using the needle that you have been prepared earlier. make sure it is SHARPPPPPP...

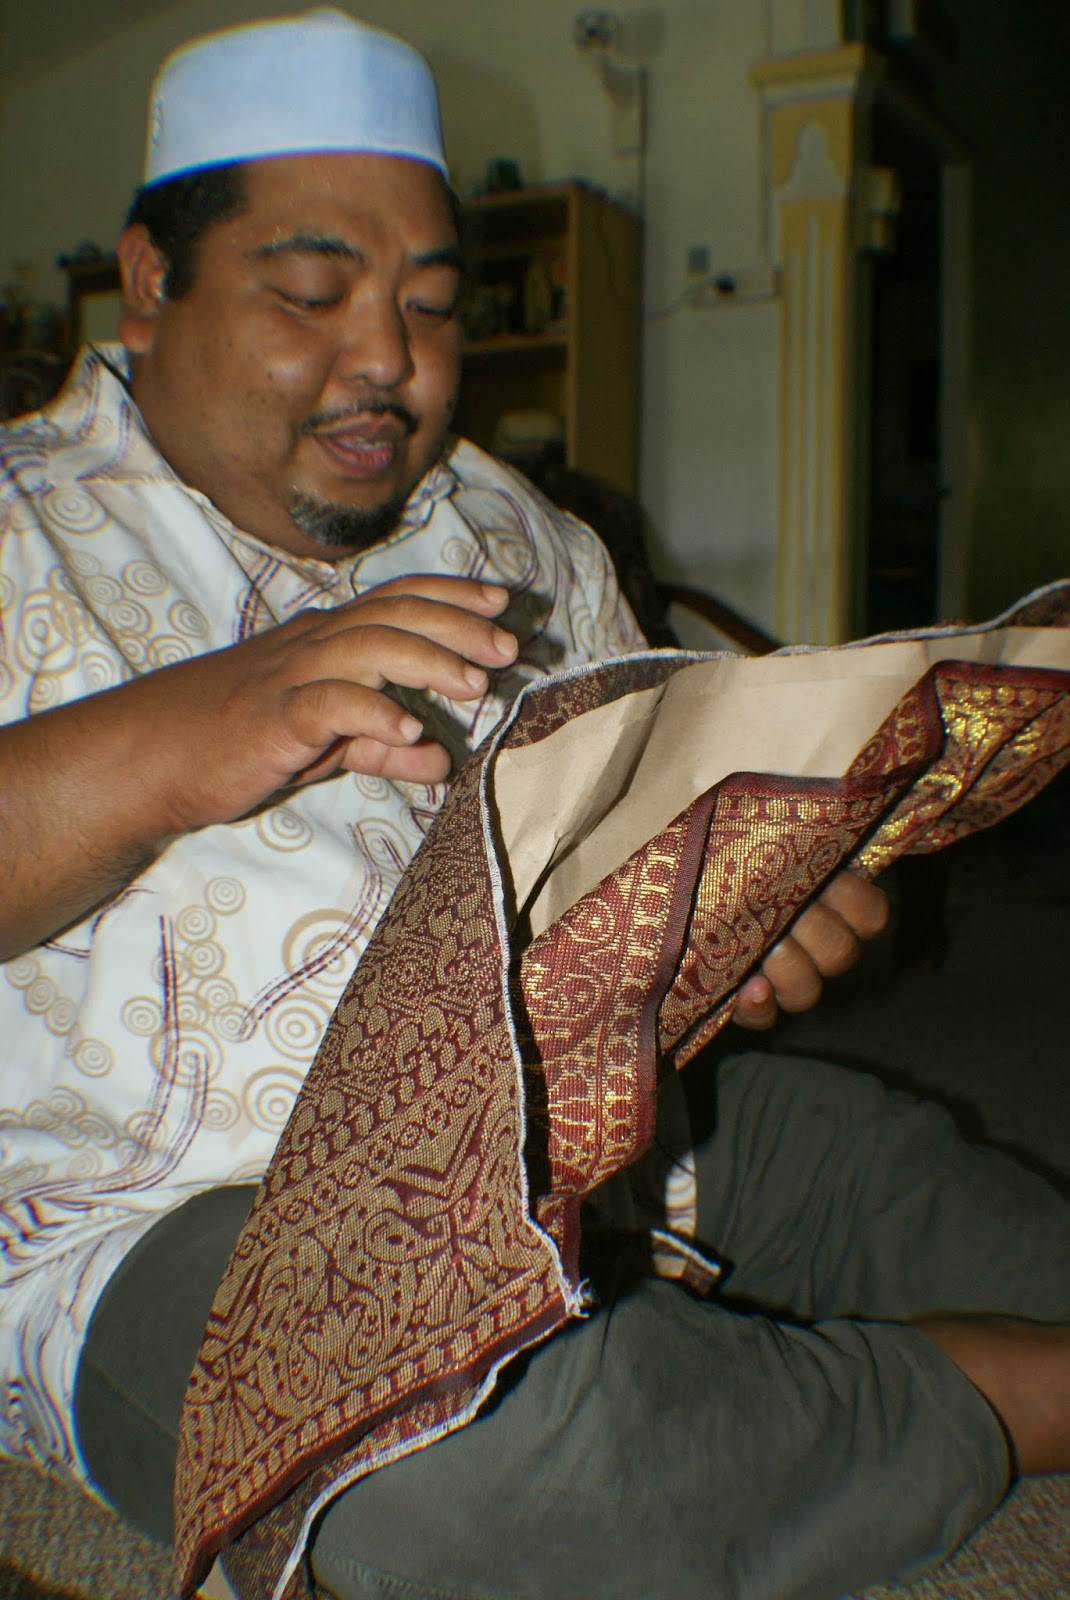
Alright then, you need to fold the fabric together with the oil paper half .

So, this is the closely look of the half flip of fabric and oil paper.

Then, take the tip of the end of the fabric at the corner side and joint it with the opposite side of tip and you attach it using needle.

So , this is how the look after you flip it into 2 and joint the tip of the fabric..

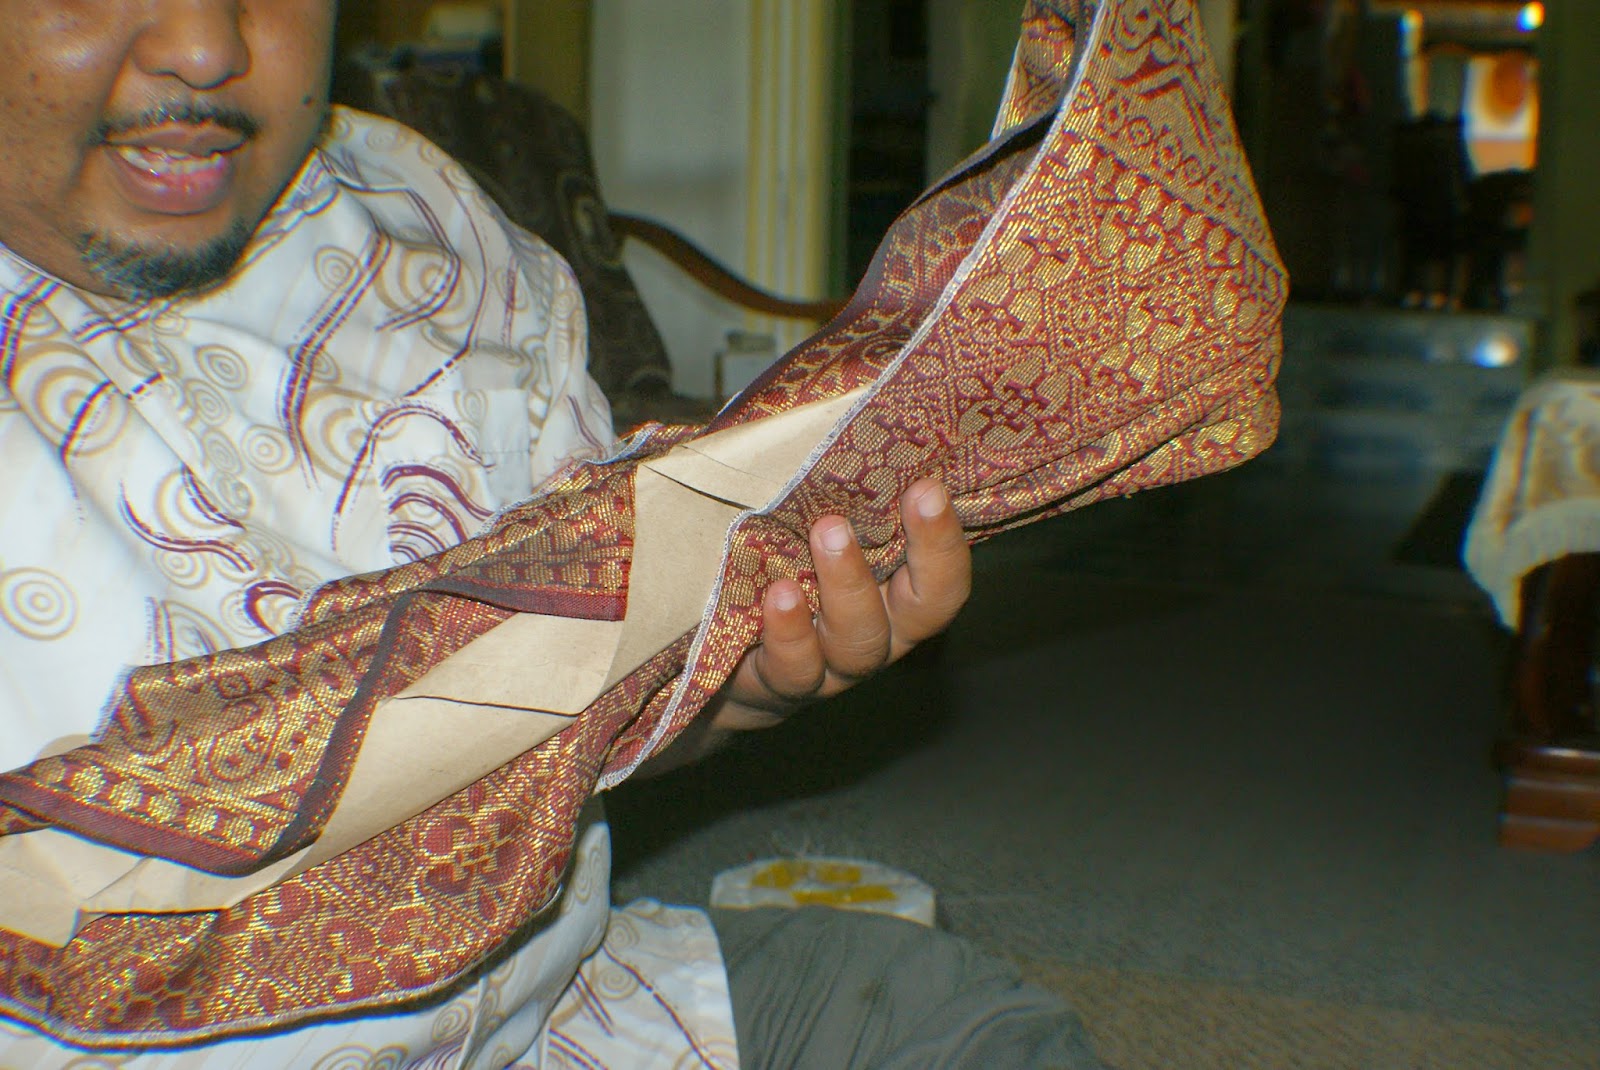
Haa... see Pak Cik also said the same thing what I just mention just now :)

..Haji Mustaffa showed how to attach the tip of the fabric correctly..

..Alright, this is the MAGIC begin ! start flipping people !
so for the 1st layer, flip about 5cm from the middle line..

...Okay, then you press it well until it showing the line that made of the oil paper that placed inside the fabric actually that gives the structure to the fabric to be folded nicely..

..Look it closely how the 1st layer made.. equal and flat..

Alright, move to the 2nd layer... just pinch and drag a bit of the fabric to make it look in order like staircase.. you don't have to hold it up highly, just let it be like previous space to maintain the 1st flip layer..

Okay, see the 2nd layer that have been pulled up and put it on top of the 1st layer but do not overshadow the 1st layer.. Just cover the half , so the 1st layer will still can be seen clearly without any blocking of 2nd layer..

..this is the look after 2nd and 1st layer have been made.. at the side view is looks like zig - zag flipping..

Next, take the upper side which is at the tip of the fabric that you have been attach just now and flip inwards.

Hold it tightly, so that the layer will be in nice and flat look.

Flip it slowly inwards ...

Okay, here is also the MAGIC part which is you need to fold the Destar around your tight to ensure the shape and structure of the Destar that need the circle shape at the centre of the Destar.
After that, adjust side by side, layer by layer .. that is why you need to tied the Destar along your tight to maintain the shape and the layer and to adjust the layer that are not in order to make it look nice, flat and strongly stand..

He still fixing layer by layer , part by part to make it look tidy and smart..

See, the layer that appear when you really arrange it ascending order and nicely flat.

OOOokay, change the other tight to fix and arrange the rest of the Destar layer..

Pull it tightly and flatten the layer..

Again, flatten the layer in the same time, pulled it according to the head size of user..
Ok, so this is how the look when both parts is completely arrange in layer and position..
No comments:
Post a Comment